A woman I worked for handed me an item like this that her grandmother had made years before, wondering if I could reverse-engineer it. I took it home, pondered it for a few days, and figured out how to make my own.
 |
A pretty and convenient way to carry your desserts.
Works well for a plate of cookies, too! |
SUPPLIES
Two half-yards of fabric, one for the outside and one for the inside (one yard total)
About four yards of bias binding
Batting
Ribbon or other item for ties
 |
I use a set of dollar store shoelaces; the aglets mean I don't need to worry about fraying.
I found the pie fabric on the Spoonflower website in J. M. Clemenson's shop.
|
DIRECTIONS
Once the fabric is washed and ironed, cut a circle with a diameter one to two inches larger than your pie pan. You'll need three circles: the outside fabric, the inside fabric, and the batting.
 |
| This serving plate of mine is just big enough to be a guide |
 |
I layer all the fabrics together as I cut them so I don't need to repeat the steps three times:
batting inside the inside and outside fabric, both right sides out. |
Next, cut the crescents that go on the top of the pie. I find the easiest way to do this is to cut another set of circles then use a smaller plate (salad plate, in this instance) as my guide to make the crescents about three inches thick, and cut it in half to make the two crescents. Again, you'll need one inside fabric, one outside fabric, and one batting.
 |
Or cut the semi-circle first, then use the plate as your guide to make the crescents.
Use the little semi-circle as part of a heart-shaped oven mitt. |
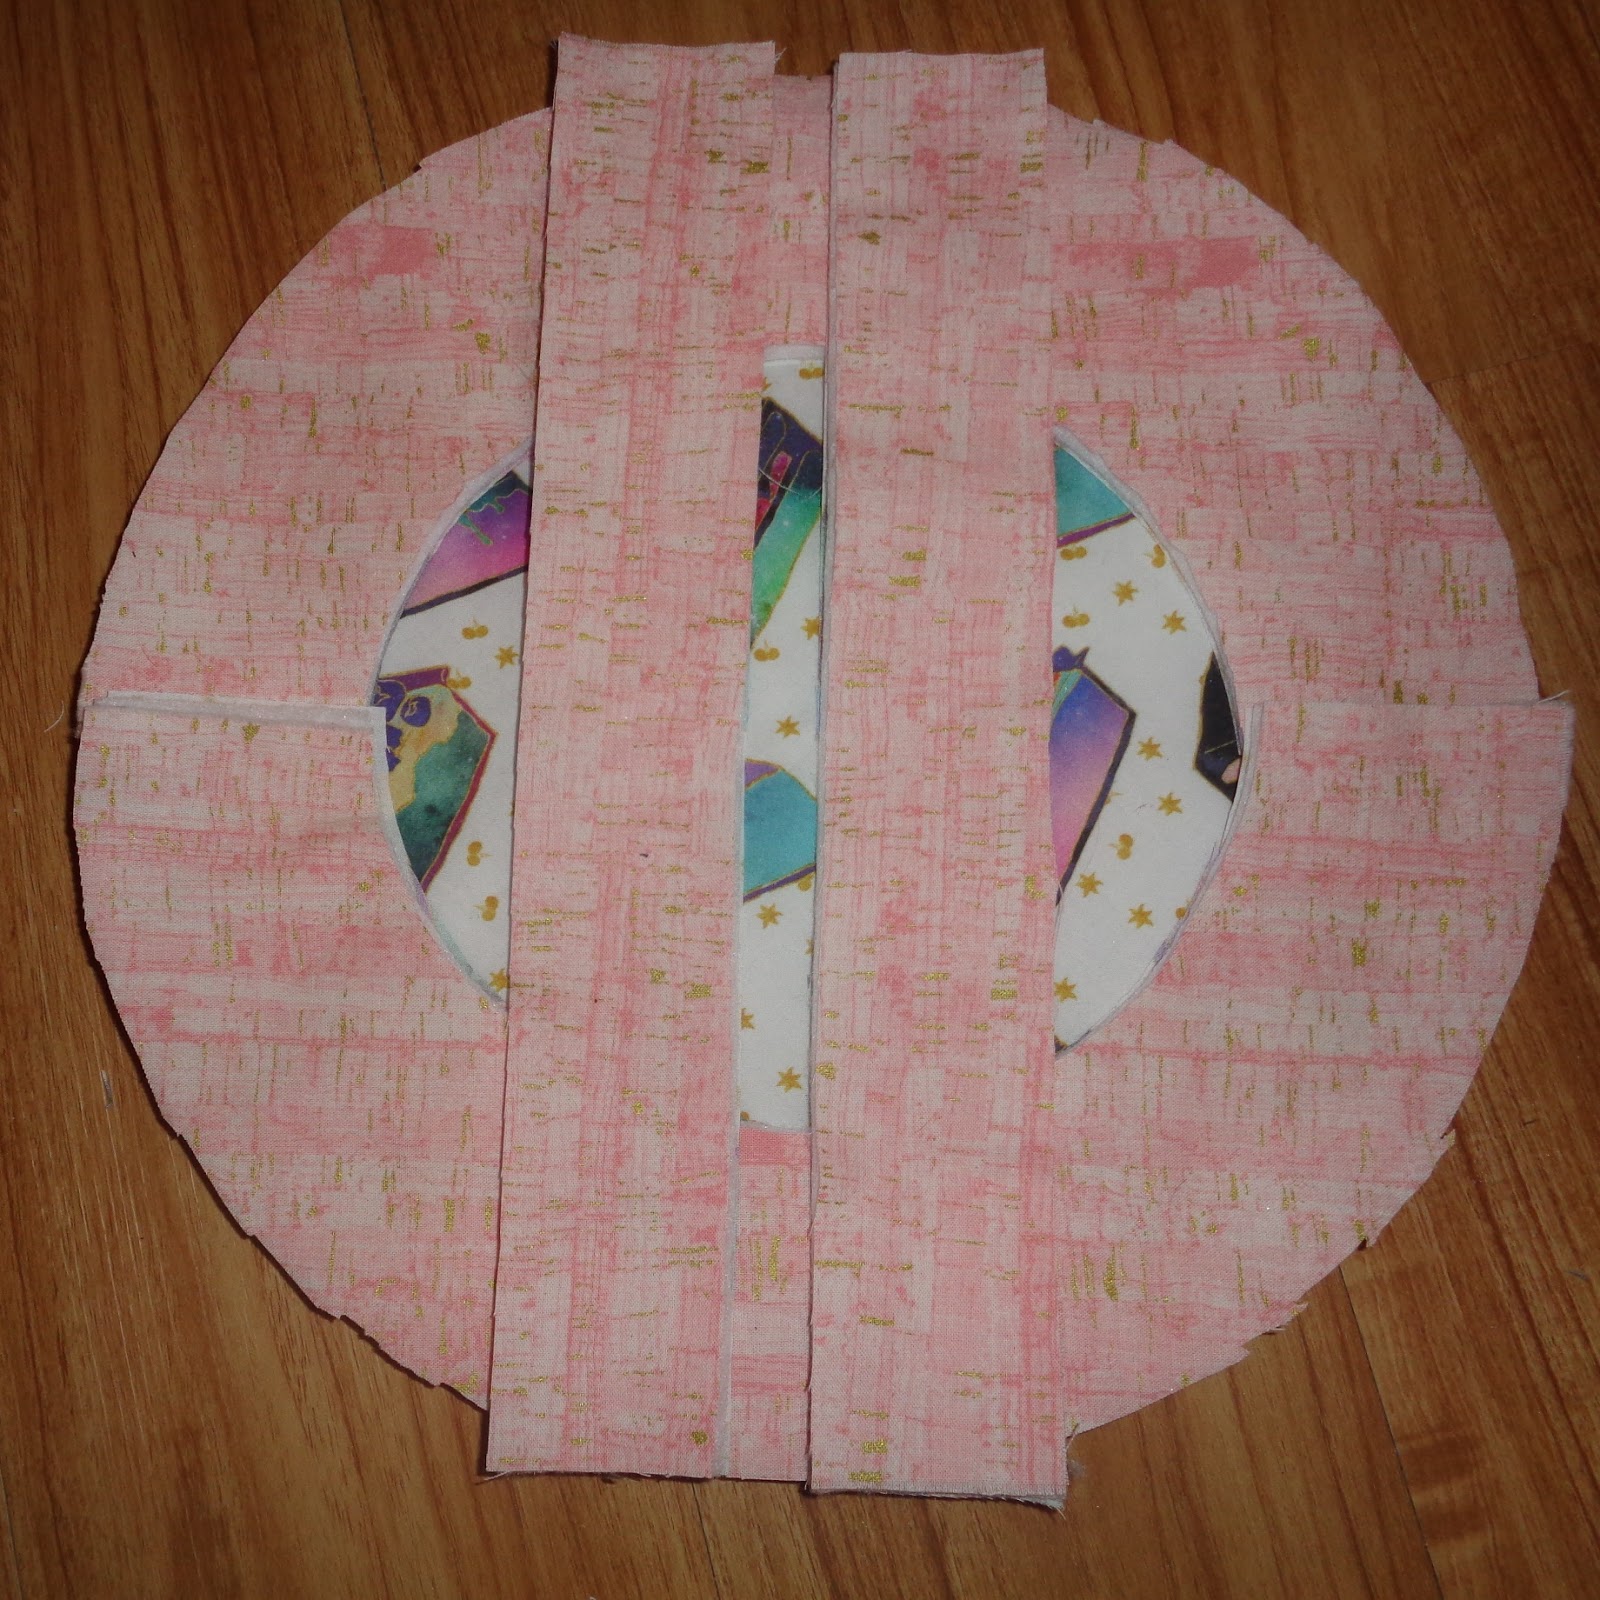
Cut the two straps. They should be about an inch longer than the diameter of your original circle and two to three inches wide. Now you have all the pieces: the circle, two crescents, and two straps; each one a set of one outside fabric and one inside fabric, both right sides out, with batting between them.
 |
| These crescents overlap a bit, so I need to trim them. |
 |
| There we go. |
 |
| Layers |
Now you will sew the long edges of the straps and the inside edges of the crescents. Use a narrow seam allowance, and trim the edges as necessary.
 |
| Could have gone a little narrower, but that's nothing my Ginghers won't take care of. |
Next, sew on the bias binding. I am lazy and bought bias tape; double-fold is best for all these layers. When you add it to the crescents, do the short, straight edge first. Sew your ties in when you add the bias binding to the inner curved edge.
 |
| Make sure it's long enough to be tied into a bow; five or so inches will do it. |
 |
| Sewn securely to the crescent. |
 |
| Inner edges done! |
Now layer the pieces, pin them in place, and sew the outer edges of the circle. As before, use a narrow seam allowance and trim the edges.
 |
| Watch out for the ties, and be sure to catch all the layers. |
All you have to do now is sew the bias binding on the outer edge of the circle. And bake a dessert to go inside it.


No comments:
Post a Comment