Mermaid, whale, or shark tail blankets/sleeping bag sort of things are widely available to buy ready-made in stores, but they're also not difficult to make at home. Here are the steps I followed to sew a trio of customized mermaid tails.
 |
| It's hard to find "panda unicorns in space" mermaid tails in stores. |
Fleece fabric
Cotton quilting fabric
Waistband elastic
The amounts you need will vary based on the size you're making--I used less than a yard of fleece for one child who wears a size 3 or 4T, and closer to one and a half yards for the two who wear sizes 8 and 10/12; less than a quarter yard of cotton for each, and one two-yard package of waistband elastic between the three. I've tried making tails with different elastics and with separate fabric for the fin parts, but I find this way works best.
MEASUREMENTS
You'll need to take six measurements:
1: total height
2: armpit to toes
3: around torso with arms at sides
4: around ankles with feet should-width apart
5: over the shoulder (for straps)
6: across chest (armpit to armpit)
Next, you need to adjust some of the measurements a bit for the pattern. This is for seam allowance, and to be sure the tail isn't too tight. The tail is made in two halves, so you also need to divide the third and fourth measurements in half, as I did in the picture above.
MEASUREMENTS
You'll need to take six measurements:
1: total height
2: armpit to toes
3: around torso with arms at sides
4: around ankles with feet should-width apart
5: over the shoulder (for straps)
6: across chest (armpit to armpit)
 |
| These are the measurements for my child who wears a size 8 |
1: subtract 4-5 inches (10- 13 cm)
2: no adjustment
3: add 2 inches (5 cm); divide by two
4: add 2-3 inches (5-8 cm); divide by two
5: add 1 inch (2.5 cm)
6: no adjustment
CUTTING THE MATERIAL
You will be cutting two identical pieces of fleece, two identical strips of cotton (or one long one cut in half), and two pieces of waistband elastic.
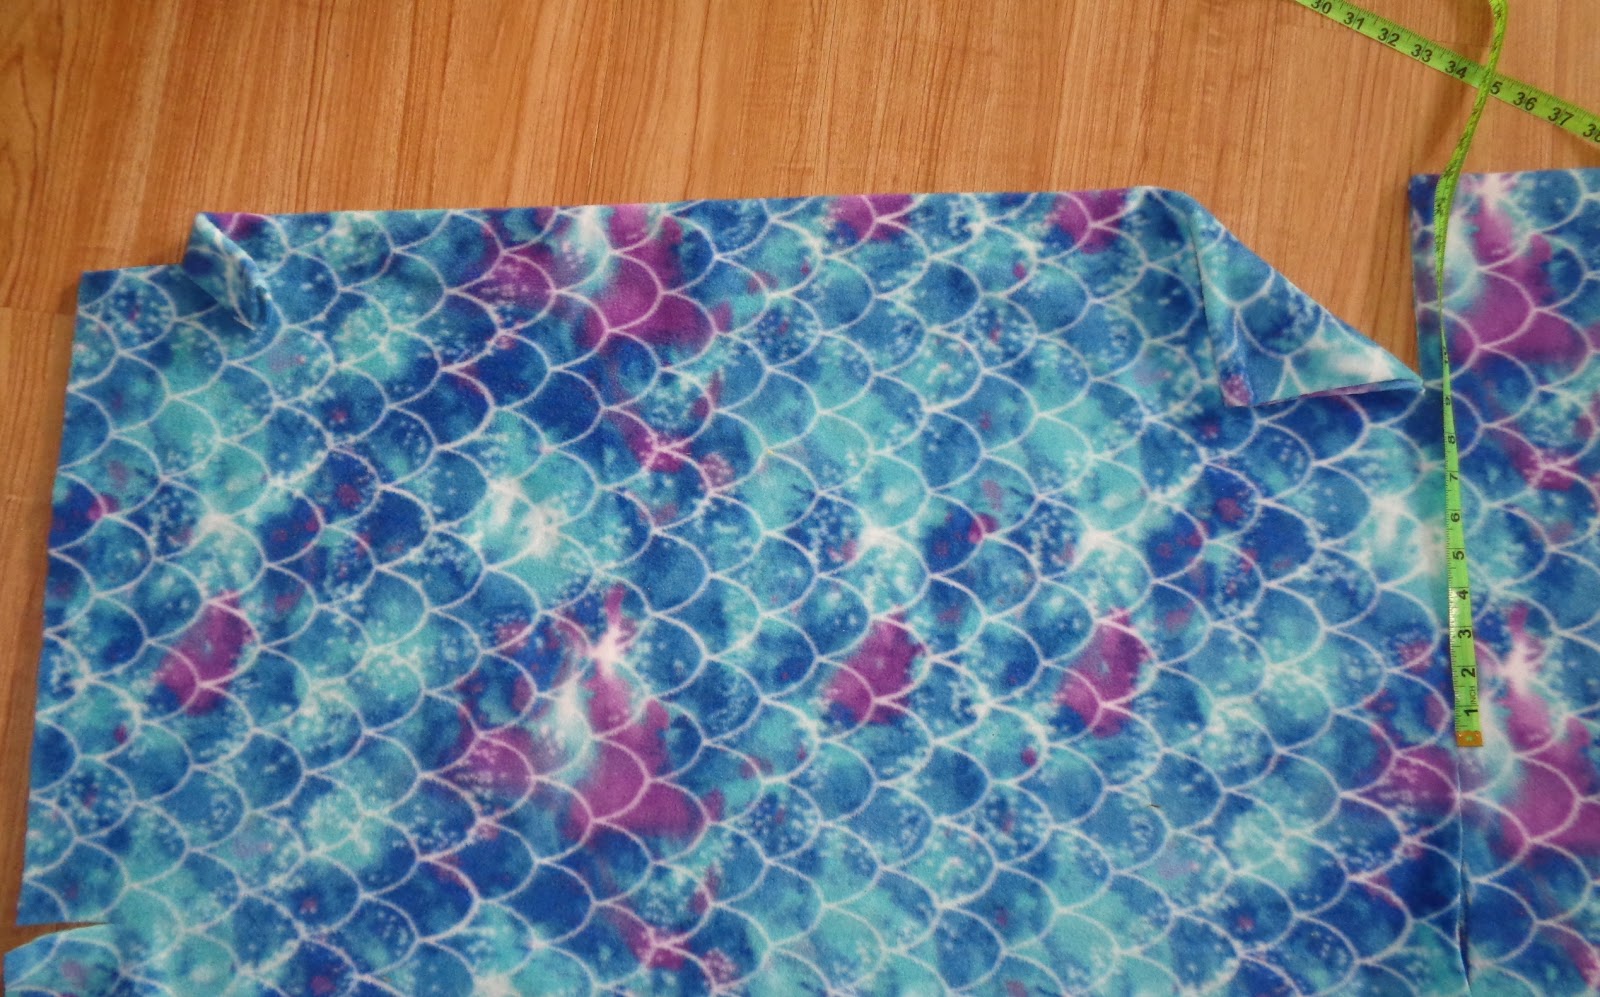
For the fleece, cut two rectangles the length of Measurement 1 by the length of Measurement 3.
Mark the center of the the short ends of the rectangle. From there, mark the spot the length of Measurement 2 from one short edge: this second mark will be where the tail starts, and the narrowest part of the tail. Center Measurement 4 on this second mark, and cut a diagonal line to shape the tail. Do the same on the other side.
With the fabric remaining past the narrowest part, cut a fin shape.
 |
| In this example, 45 inches long and 18 inches wide. |
 |
| Here, the left side is 18 inches wide, tapering down to 11.5 inches wide over 36 inches. There is still room on the right to cut the fin shape. |
 |
| Looking more a like a tail now! |
 |
| Six inches by 18 inches for this tail |
Finally, cut two strips of waistband elastic for the straps, using Measurement 5.
 |
| Time to start sewing! |
CONSTRUCTION
You'll start by attaching the straps and the cotton to the top of one piece of the fleece--that is, the end opposite the tail fins. Mark the center of the top side, and pin the straps on the wrong side of the fleece, according to Measurement 6. If your waistband elastic has a right side and wrong side like mine does, be sure the wrong sides of the elastic is facing the wrong side of the fleece.
 |
| The outer edges are 8 inches apart for this size tail. Arranged this way, the black side will show-- I ended up changing it around for the silver to show. |
Next, position the cotton strips. The cut edges will match up with edges of the top of the tail and the ends of the elastic. Sew these three layers into place.
 |
| Fleece wrong side up, elastic wrong side down, cotton with raw edge where the WonderClips are Again, I actually flipped the elastic, as shown in the picture below. |
 |
| My needle is in the middle position. |
Just like you would do with quilt binding, bring the cotton over to the right side of the fleece. The straps will be sticking out between the fleece and the cotton. Sew the cotton down, both at the top of the tail and at the folded edge.
 |
| You could just sew a hem along the top of the tail and attache the straps within the hem, but I think this looks nicer, and is a sturdier. |
That's one side done--now the other one. It's pretty much the same process, except you need to be mindful of the half of the tail attached to the other ends of the straps. Be careful!
 |
| Once you're sure the straps aren't twisted, sew them and the cotton on like on the first half. |
 |
| In retrospect, I should have moved the needle all the way to the left when I sewed the folded edges. |
Now it gets easier again: pin (or clip) the two halves right sides together, and sew around the perimeter--except for across the top, of course! You can overcast the raw edges if you want to, but with fleece it's not necessary. It comes to whether you want a bulky seam or a raw seam.
 |
| I used a narrow zig-zag, and left the edges raw. |
Turn it right-side-out and cut any errant threads, and you're done!
 |
| Ready for a movie night. |
No comments:
Post a Comment