My parents were given a two-inch beaded bell for a wedding present. My dad asked how the bell was made, and the woman who made it gave him a copy of the directions. Dad has since made dozens of bells, and taught me how to make them, too. People frequently ask me how I make them, and the only directions I've ever found online are a little different from what Dad and I do, so...here's how I make them.
 |
They make nice Christmas ornaments, but can be for other occasions too.
|
SUPPLIES
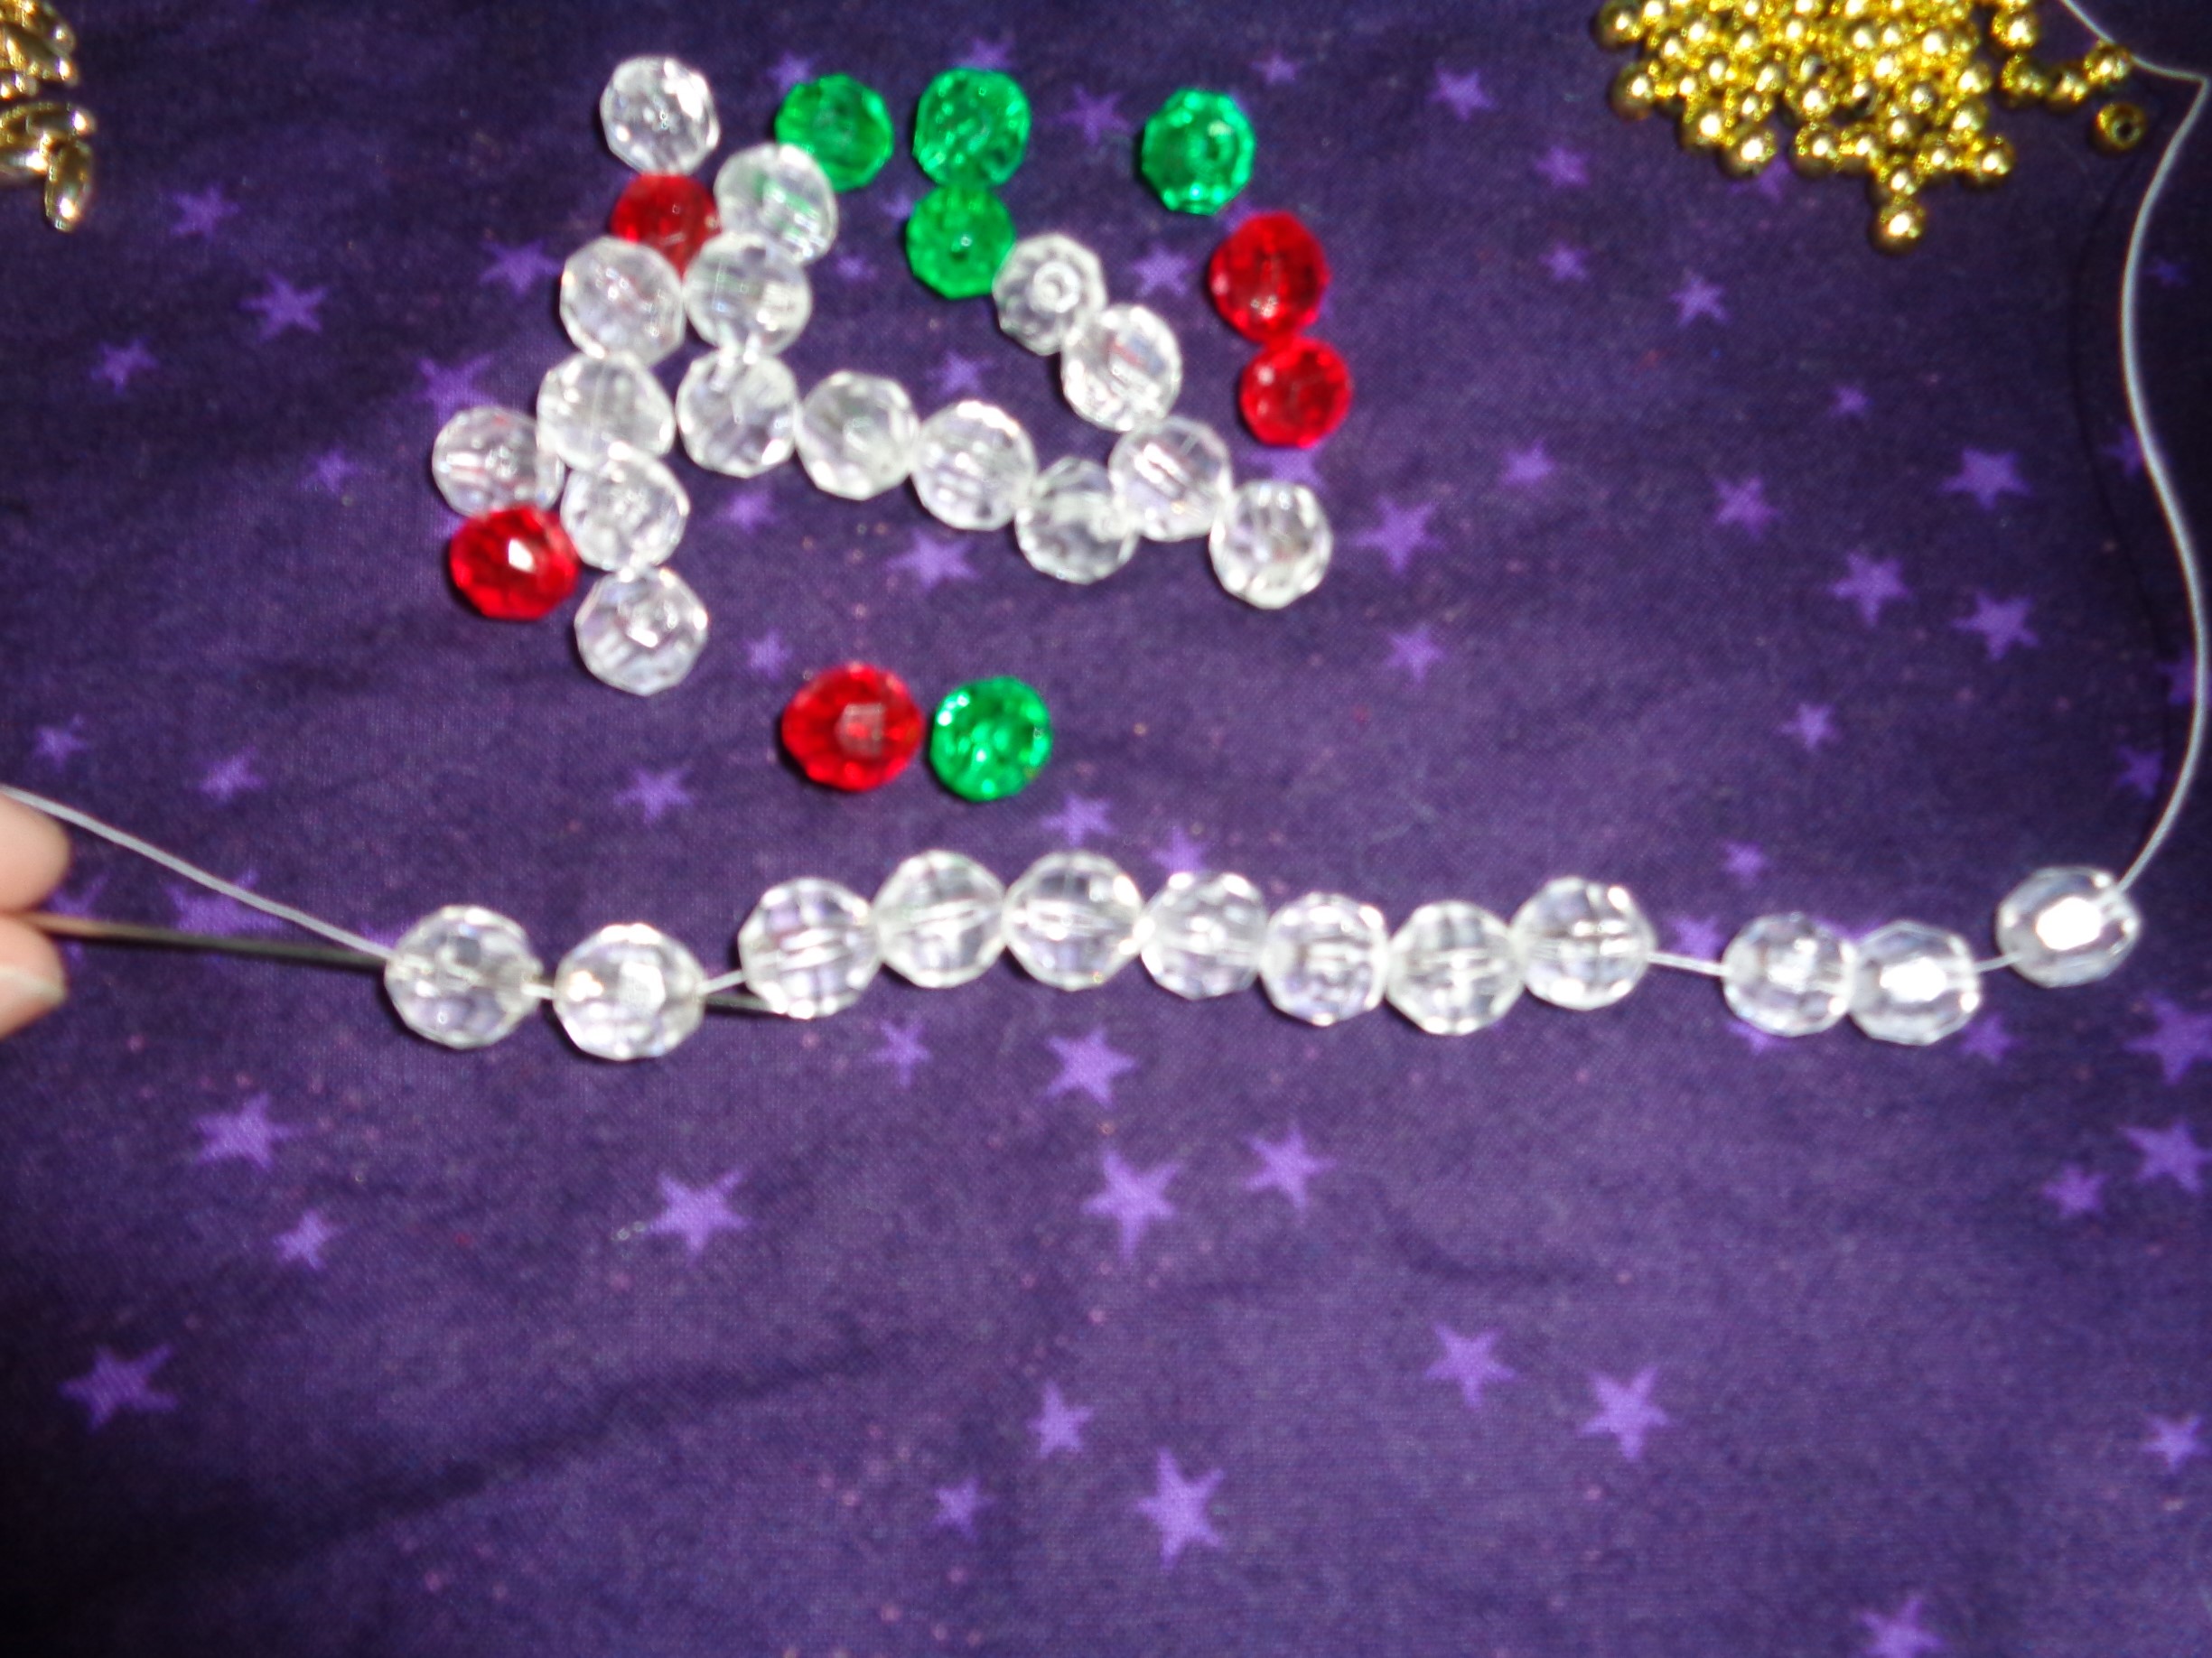
38 8 mm faceted beads
74-85 4 mm pearl beads (also called round beads or seed beads)
64 3x6 mm oat beads (also called oval beads, rice beads, or wheat beads)
Optional: small charm for the end of the clapper, if not using a pearl bead
6-7 feet of strong thread (I use nylon hand quilting thread)
Needle--not too thick or it will split the pearl and oat beads in two while you're working
Scissors
Needle-nosed pliers
Glue
 |
This bell is going to have two green and red diamonds in the middle
|
DIRECTIONS
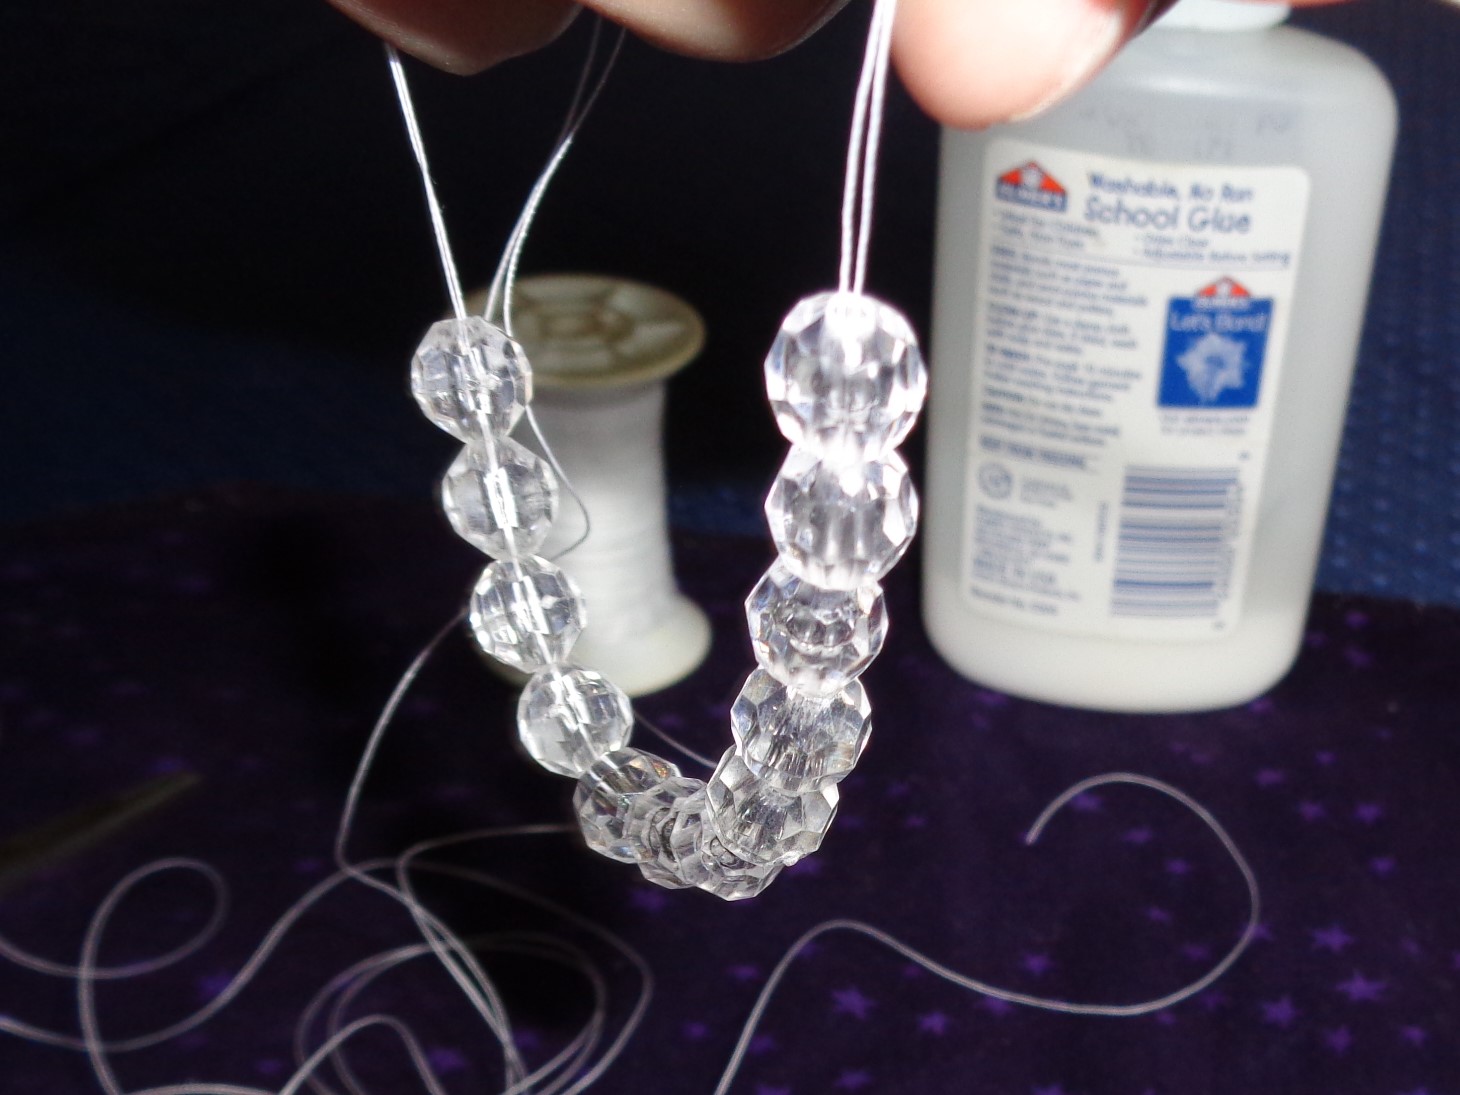
Thread the needle, and put it through twelve faceted beads.
Put the needle through all twelve beads again, starting with the first one you used. When you pull the thread tight, the twelve beads will be pulled into a circle.
Pull the thread very tight--this is why you need a strong thread, you'll need to keep it pretty taut the whole time you're making the bell, and weaker threads will break. Tie a few knots.
Go through a few more beads, pulling the knot along to hide it and the thread tail inside the faceted beads.
Now pick up three pearl beads (my dad uses four). Skip one faceted bead and put the needle through the next one. Now the faceted bead that you skipped has three (or four) pearl beads resting against it.
Continue this all the way around your circle of faceted beads, for a total of six sets of pearl beads. When you've done the last set, go through two faceted beads instead of just one, so that your thread is coming out of a faceted bead with pearl beads resting against it.
Now pick up two oat beads and one pearl. String them oat-pearl-oat, skip one faceted bead, and put the needle through the next one--it should be a faceted bead with pearls resting against it. Continue around the circle. When you're done, half the faceted beads will have three (or four) pearl beads resting against them and the other half will have the oat-pearl-oat bead pattern on them, alternating all the way around.

When you go through the last faceted bead, continue through the oat bead and pearl bead next to it. These should be from the very first set of oat-pearl-oat beads you put on the circle. This sets you up for the next "level" of beads. This is also a point at which a needle that's too thick can break an oat or pearl bead. If your beads don't slip easily over the needle, especially the eye with thread, it's too thick. It's INCREDIBLY frustrating to break a bead that you put on earlier, because you have to undo all the work back to where the bead broke to fix it, which can mean taking off a couple dozen beads.
Your bell should look like this so far: a circle of faceted beads with alternating pearls and oat-pearl-oat embellishments, with the thread coming out of the pearl in the first oat-pearl-oat section. Pull the thread taut.
Pick up a faceted bead, and put the needle through it and the next pearl bead.
Continue this around the circle, ending with pearl bead your thread came through first. For this first round of faceted beads, put your needle and thread back around, going through all six faceted beads and all six pearl beads. Pull the the thread taut--this will help keep the correct tension as you continue.
Now it's time for another oat-pearl-oat section. After putting those three beads on your thread, go through the next pearl bead. Continue around the circle for a total of six oat-pearl-oat sections, anchored on the "old" pearl beads from earlier.
Once again, when you reach the end of the circle, continue through the first oat bead and the first pearl bead.
Give the thread a good tug, working your way around the beads if needed. Keep the thread taut.
Next is another round of six faceted beads. As before, each faceted bead should be flanked by pearl beads from your previous round. Next will be another round in the oat-pearl-oat pattern.
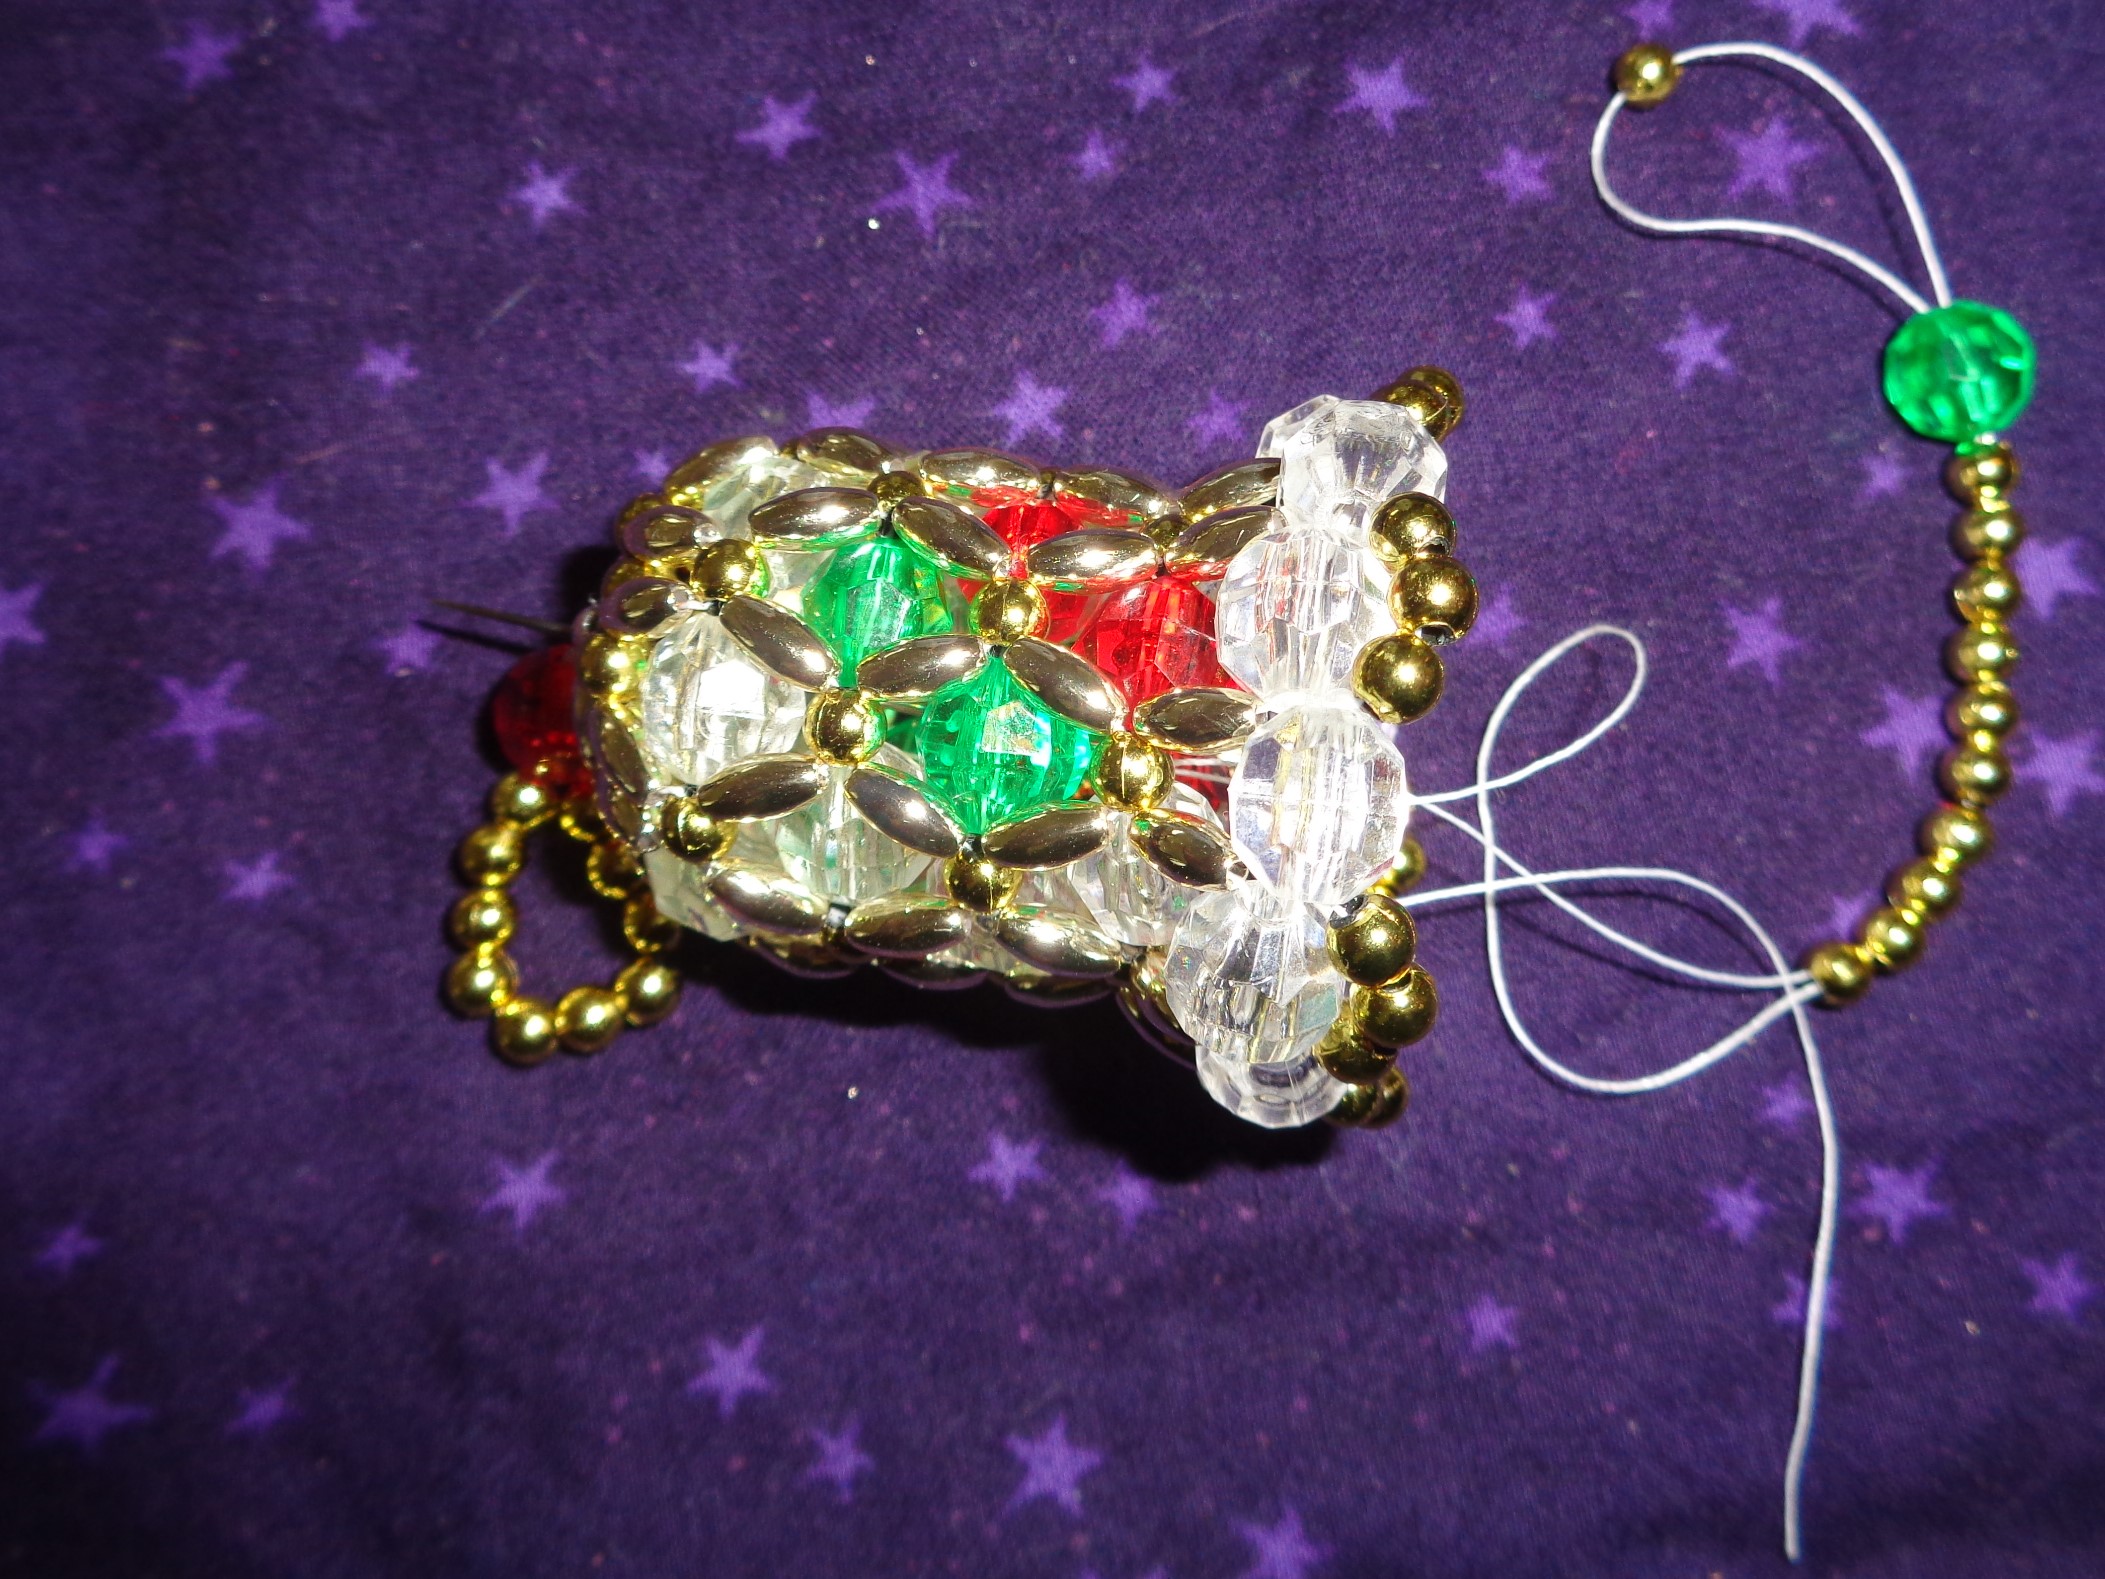
Continue in this pattern until you have four rounds of faceted beads, and five oat-pearl-oat rounds (i.e.; the oat-pearl-oat rounds are between each faceted bead round, and also before the first one and after the last).
This round will be similar the faceted bead rounds, but instead of faceted beads, you'll use pearl beads. Think of these most recent six pearl beads as the B set, with the ones from the oat-pearl-oat around as the A set.
Go around the circle of pearl beads--all twelve--and pull the thread tight. This will close the top of the bell into a small circle.
Be sure your thread is coming out of a pearl from the A set. Thread two oat beads. Find the pearl bead halfway across the circle--it should also be from the A set. Put your needle through it, so that the two oat beads will be bisecting the circle of twelve pearl beads. Continue with the needle through two more pearl beads, once again being sure it's coming out of a pearl from the A set. (Using pearls from the B set in this step will work, but the circle of pearl beads will be distorted.)
Repeat the previous step with the last two oat beads. You should now have a cross made of four oat beads in the middle of your circle of twelve pearl beads, with three pearl beads between each oat bead. Your thread should be coming out of a pearl bead from the A section right next to an oat bead.
Push the needle through the oat bead. Now the thread is coming from the center of the cross.
Tie several knots around the middle of the cross. I tie at least four--you'll need a decently-size knot of thread in a moment.
Next, thread one faceted bead and ten pearl beads (my dad uses twelve pearl beads for this part).
Go back through the faceted bead. This makes the handle of the bell.
Put the needle through your knots in the middle of the cross.
Pull the needle and thread down into the middle of the bell. The needle-nosed pliers are useful here--not strictly necessary, but very helpful, especially if your fingers are tired from keeping the thread taut.
Now your thread is hanging in the middle of the bell, coming from the knot in the center of the cross.
Thread ten pearl beads (my dad also uses twelve here). If you've found any pearl beads stuck together, save them for this step. You'll be going back through these pearl beads and a few stuck together makes it a little easier.
Add the last faceted bead and the last pearl bead.
Go back through the faceted bead (not that last pearl bead) and the ten (or twelve) pearl beads. This makes the clapper.
Push the needle back through the knot in the middle of the cross--you might want the pliers again for this.
Get the thread as tightly as you can. Pull the thread at that last pearl bead (or a small charm, for example, a heart-shaped one for a wedding gift) on the end of the clapper to be sure the thread in the handle is tight, and then pull the thread where it's coming out at the base of the handle. It might take a few back-and-forths of this to get it really tight.
Tie a few knots at the base of the handle.
Cut the thread, leaving a small tail.
Put a drop of glue on the knots at the base of the handle. Twist the handle around, coating the tail in glue--when the glue's dry, the tail will be hidden by it.
Once the glue dries, you're done! If the bell is meant to be a Christmas ornament, put an ornament hook or ribbon on the handle for easy hanging.
Faceted beads come in just about any color you could imagine. You can make a bell all one color, you can make stripes, you can make diamonds, you can do sports team colors, holiday colors; whatever you want. Pearl and oat beads come in a wide variety too (I tend to stick to silver or gold). I don't often see the beads in craft stores like I did when I was younger, but multiple websites sell them.
I hope the directions make sense. I've been making these for about twenty years and have made hundreds (no exaggeration), so it's very easy for me to make a bell. If a step isn't clear or I've missed something, please let me know so I can clarify!


No comments:
Post a Comment